In preparation for this blog, I have been attempting to clean my digital spaces, notably the files on my computer. And let me tell you, digital decluttering is easier said than done. I highly recommend not letting them get horribly cluttered and messy in the first place, however this is not always possible, particularly when we live in such a cyber world where all of our files are accessible with a simple swipe and a click. Let me be the first to admit that I am horrible at keeping my files neat and tidy, but I think I have basically nailed the best and most efficient and thorough method this past week! So, without further ado, here are some tips and tricks for decluttering and organizing your computer files!
STEP ONE: SET ASIDE THE TIME TO COMPLETE YOUR DIGITAL DECLUTTER
Depending on how many files, folders, drives and crap you have, this is a task that could take a significant amount of time. Although I do recommend doing it all at once, I realize that this is not always realistic or even possible. If you have a small number of files to go through, set aside a couple hours all at once and get it done and over with in one fell swoop.
If you’re like me, however, and have enough files to make you want to cry – but you don’t have 12 hours straight to spend going through files on your computer – then allot a certain amount of time each day (at least an hour until completion) to getting it done and over with. It sounds terrible and time-consuming, but trust me when I say that you will start noticing improvements sooner than you know it. So put on your favourite TV show, make your beverage of choice, and let’s begin your digital detox!
STEP TWO: GATHER EVERYTHING OF THE SAME CATEGORY IN THE SAME FOLDER
If you’ve ever read Marie Kondo’s book, The Life-Changing Magic of Tidying Up, this may sound vaguely familiar to you. With Marie Kondo’s “KonMari Method”, she recommends gathering all items of the same category in the same place. This means that all documents go to your “Documents” folder, all pictures go to your “Pictures” folder, and all music goes to — you guessed it — your “Music” folder.
When I say all items, I really do mean ALL items. EVERY LAST THING. If you truly want to declutter and organize your computer and digital files, you must find everything. This may mean digging through old USB sticks, SD cards, or other computers, and accessing all online file storage sites including Dropbox, iCloud, Google Drive, Microsoft OneDrive, etc.
STEP THREE: GO THROUGH EACH FILE, ONE AT A TIME
This is the step that is going to take up the vast majority of your time: deciding which files to keep or discard. This is also a KonMari method tip. She recommends touching every item to see if it “sparks joy”. Obviously it’s impossible to touch digital files, but take a serious look at each one and make sure that it (a) makes you happy and/or brings back good memories and (b) is still useful and relevant. Delete any duplicate items, blurry photos, outdated files, and anything that just doesn’t need to be kept (I’m looking at you screenshots, memes and 65 redundant selfies from the same day). Watch the space in your computer free up and be amazed and how many more GB you now have for activities.
STEP FOUR: CREATE A FILING SYSTEM THAT WORKS FOR YOU & STICK TO IT
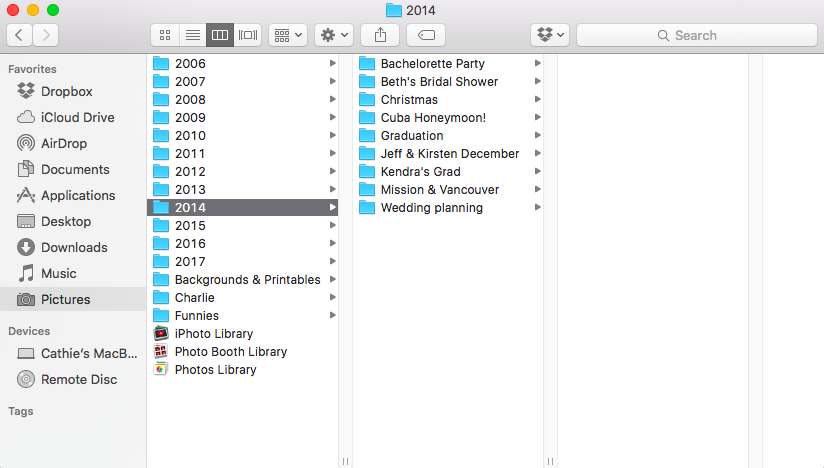
The trick here is to only put what you for sure want to keep in your subfolders. Subfolders within your Documents, Pictures and Music are going to look different for everyone, depending on what your organizational needs are. You can organize by year, category, genre, etc. Personally, I organize my photos by year and then event (except things that are year-neutral like printables and cute pics of my dog), my music by artist and then album, and my documents by categories. I use Dropbox for my past course notes and educational files, and iCloud for everything related to my Etsy shop and this blog.
However, this part is totally up to you as our brains are all wired differently and a filing system that works for me may not work for you. The only rule when it comes to organization is, I repeat, only put what you truly want/need to keep in your subfolders. And if it doesn’t have a place to go, delete it.

A FEW MORE TIPS & TRICKS
1) If you already have a filing system that works for you, you are awesome! Make sure that you follow the same steps when digitally decluttering, but instead of just throwing everything into your main folders, take any files that you are able to take further into your subfolders. For a thorough cleanup, I still recommend going through every folder and subfolder to determine what to keep and what to delete.
2) Back up your files: If there are important files that you would really rather not lose in the rare case that your computer gets caught in the rain, catches fire, or just decides that its time is up, PLEASE make sure you back them up using an external hard drive or Cloud storage program. Either use the same filing system for your backup storage, or create a different system to save only your most important files.
3) Stay on top of your files and frequently reorganize and clean up your folders. You are in charge of your files – don’t let them take control over you. Try filing any stray documents that have ended in your Downloads or Desktop about once per week.
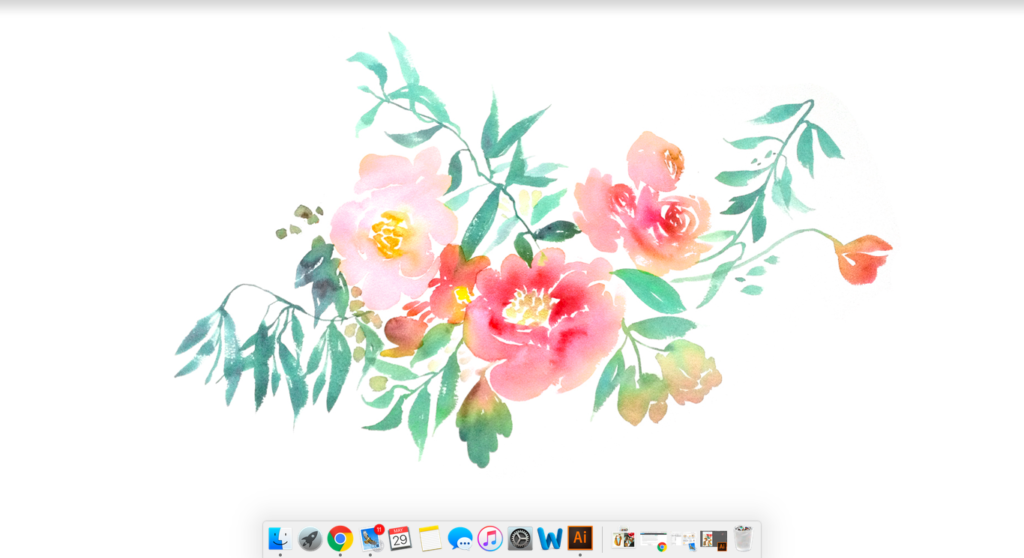
4) Keep your desktop clear! Just look at the name of it: Desk. Top. In the same way that it feels great to have a clean desk without papers, dirty dishes and books everywhere, I can’t tell you how nice it feels to have a clean virtual desktop with absolutely nothing on it to distract me. I used to be the type of person who had a million and one things on her desktop for “easy” access, but it only contributed to my anxiety and gave me the feeling of being an unorganized mess. I now try to use my desktop only for the projects that I am currently working on, and after their completion, they are either filed or deleted so that I can have a clean desktop again. Just look how pretty and clutter-free my desktop looks:
 And that’s it! My step-by-step guide to cleaning up your computer files! I hope that this system works as well for you as it’s worked for me, and if you do try it, I would love to hear your feedback. Thanks for reading!


Leave a Reply